Aug 21st 2026
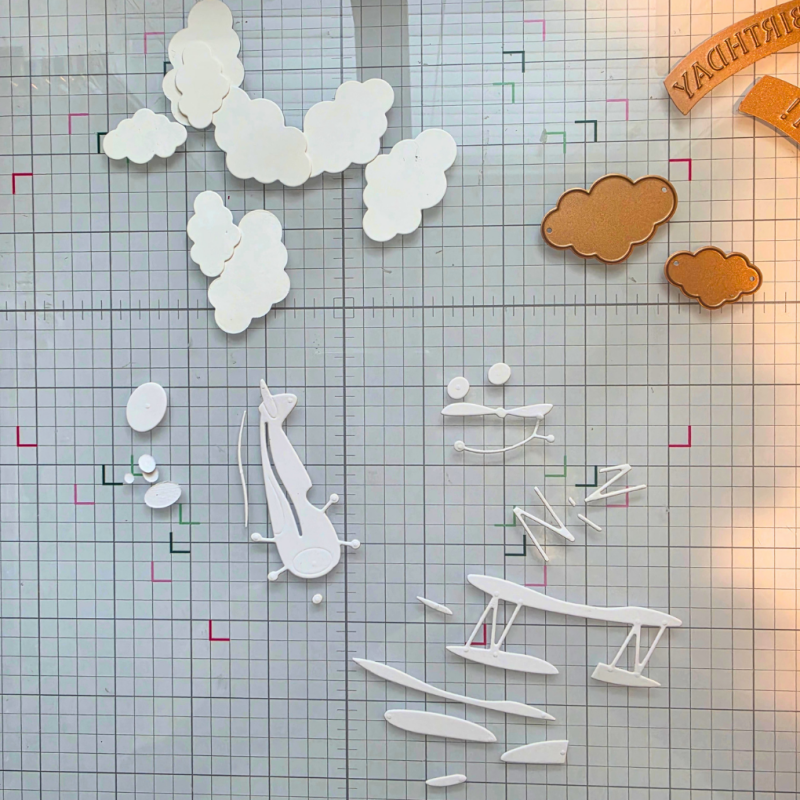
I started by cutting the parts for the plane, multiple clouds, and the banner. The picture of the banner was lost when my phone had a stroke, but you can see it later. The parts look complicated, but it's really easy to put together, especially after assembling once. I love all the details! Spellbinders is well known for including every die you need for the most realistic product possible. I cut these out of Neenah Classic Crest Cover Solar White 110lb cardstock.
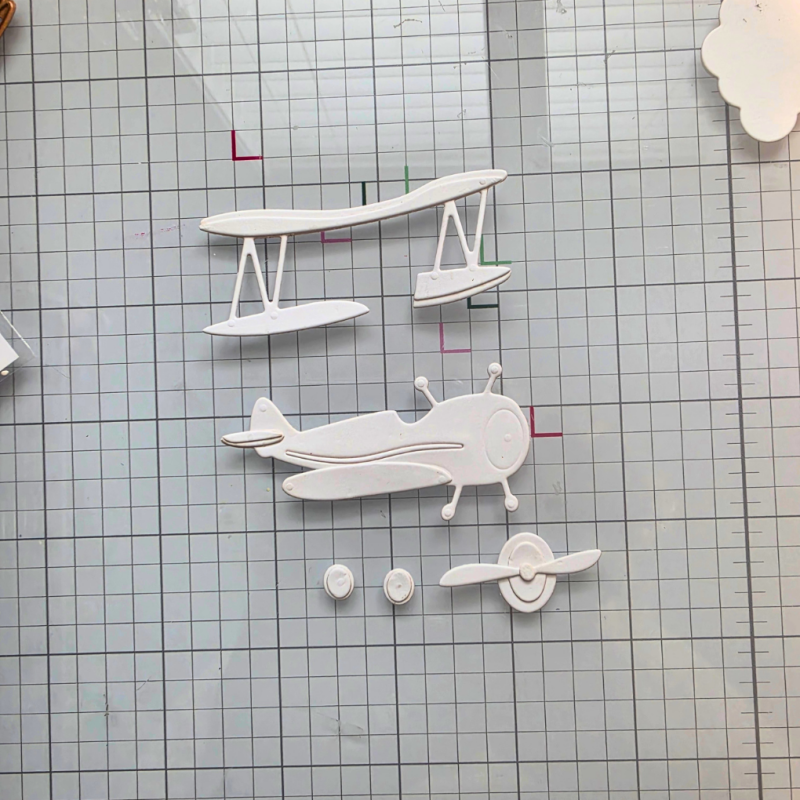
To show how easyily the plane comes together, here it is partially assembled. To get the pinstripe in place, I took a small sliver of white cardstock, adhered it to the back of the plane, behind the opening. I then added it, with reverse tweezers.
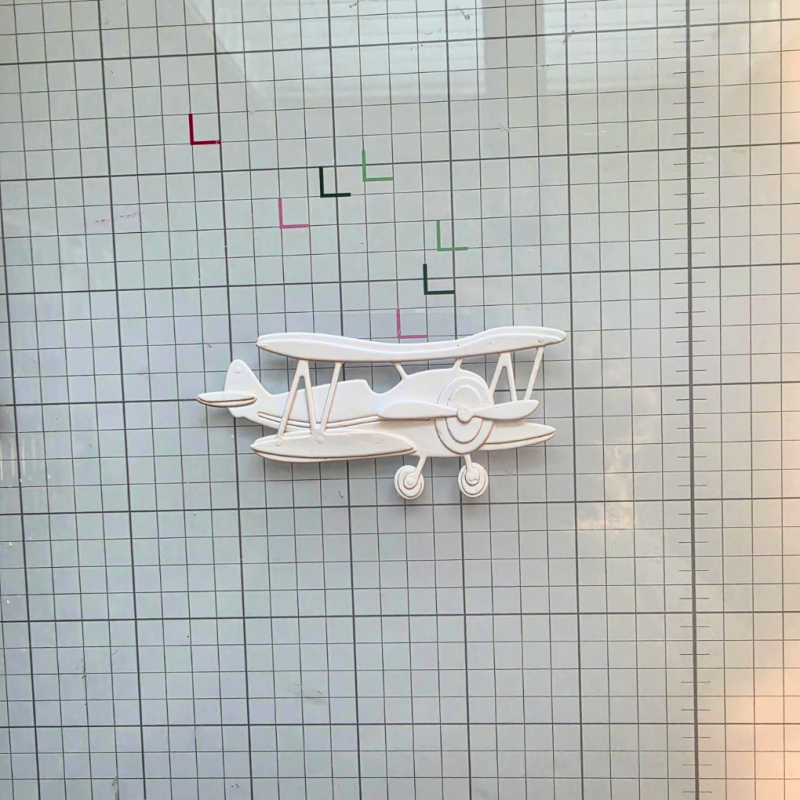
Assembled plane. Of course, if this had been made with colored cardstock or ink blended, it would be more vibrant. I really like the white; it's elegant.
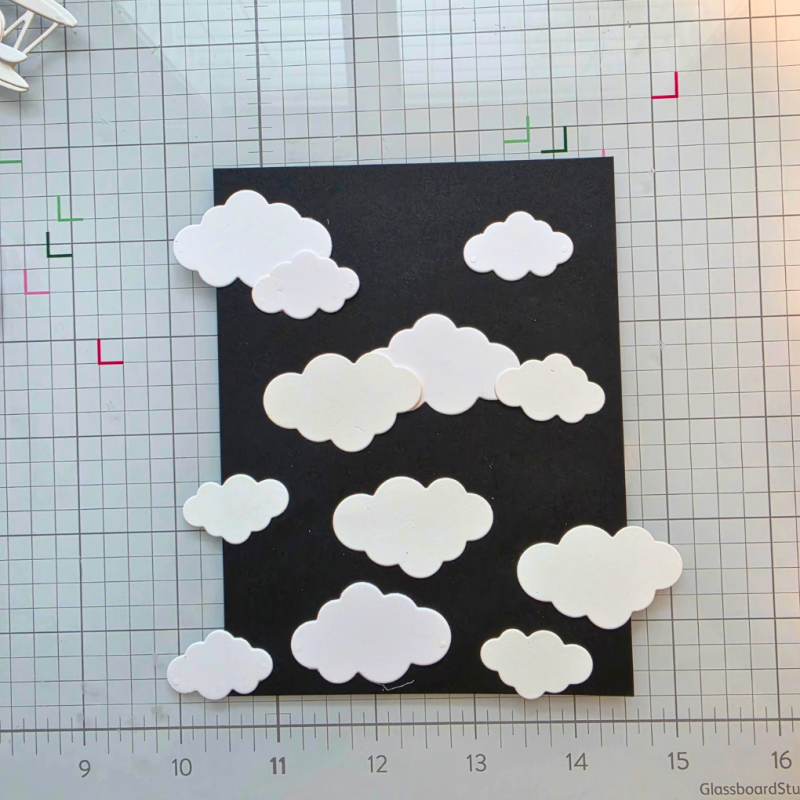
Here, I took some of the clouds and placed them onto a 4 x 5 1/4" piece of black cardstock. It took a while to arrange them. I wanted them to appear random and fill the page.
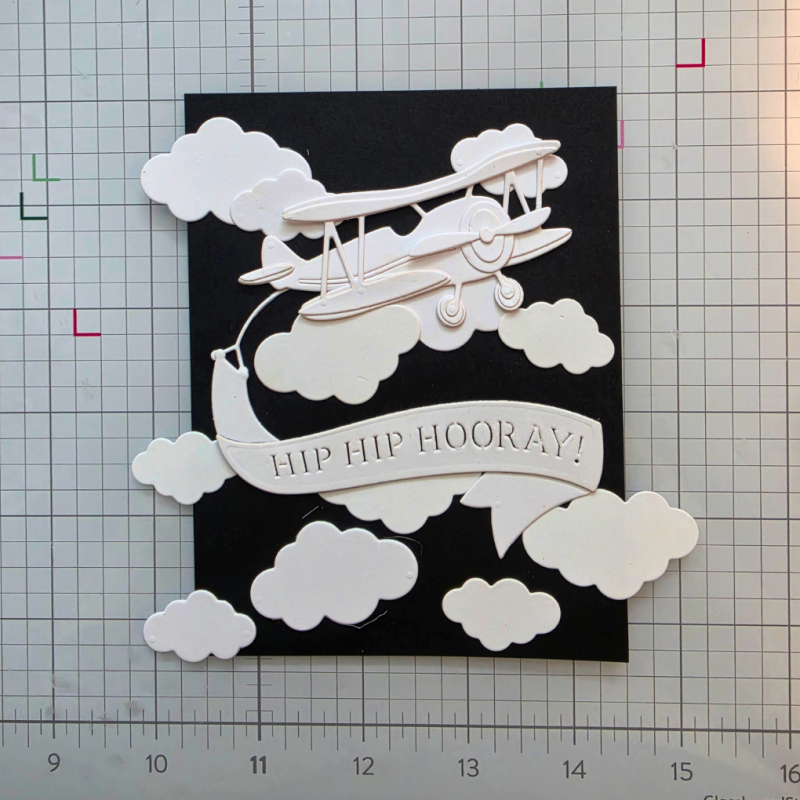
Here is the panel with the clouds adhered. I placed the plane, with the banner, on top to see where I would adhere it down. I decided to use foam strips cut in small pieces to add dimension.
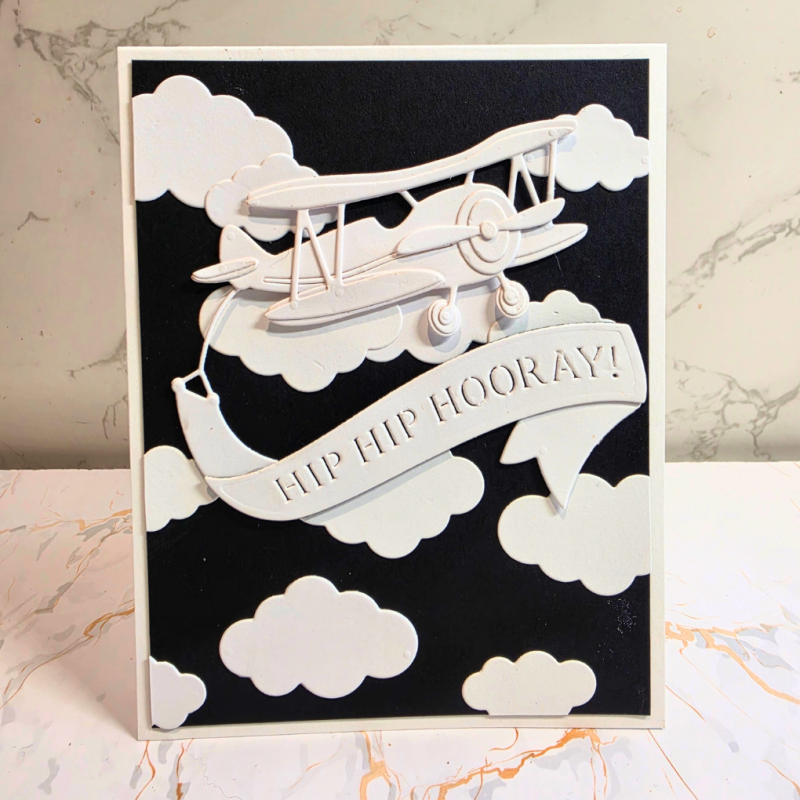
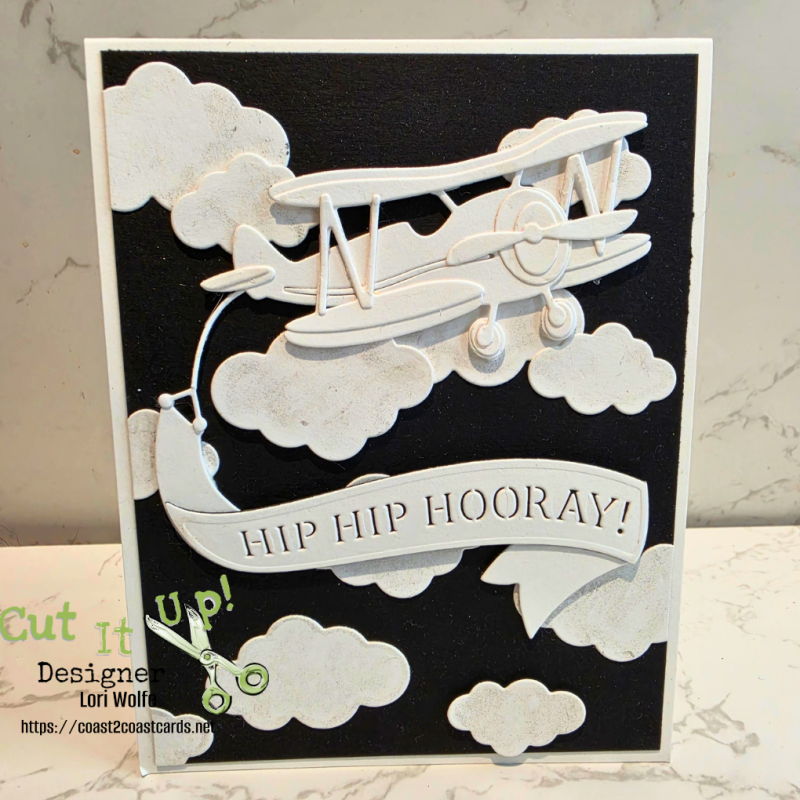
Finished card. I trimmed the clouds that were handing over the panel, then added it to an A2 top-folding card base.
Add comment
Comments
This is sooooo cool!! I love everything in white against that black background! Of course, that plane would look fabulous in full color, but it is a very cool look in the white.
Awesome work and details ❤️🧡